The Trails
  • Home
    • Over The Years
    • Easter
    • Family Histories >
      • Bohl Family
      • Melton Family
  • Flowers
    • More Flowers II
    • More Flowers III
    • More Flowers IV
  • Found the House
    • Work Begins
    • Keep Working
    • Home Sweet Home
  • Remodeling
    • Dining Room
    • Master Bathroom
  • Contact Us
    • Our Travels >
      • Europe
      • Acapulco
      • Banff, Canada
      • Asheville, NC
      • Yellowstone
  • Arrangements
  • Our Favorite Links

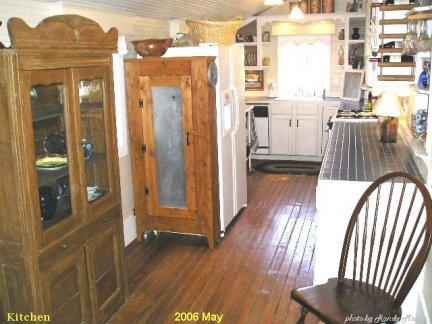
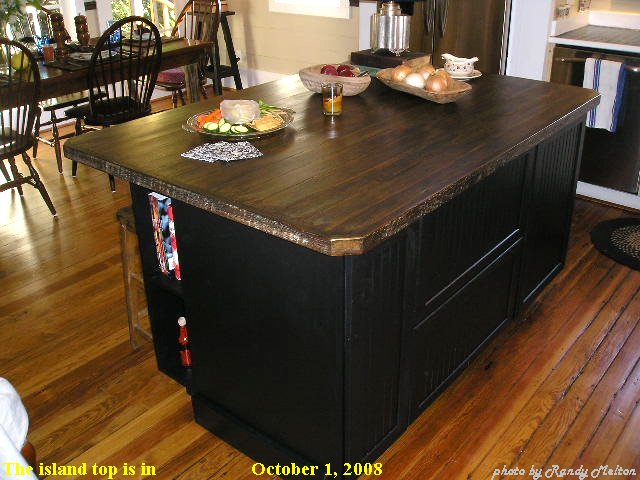
Before . . . 2008 Kitchen

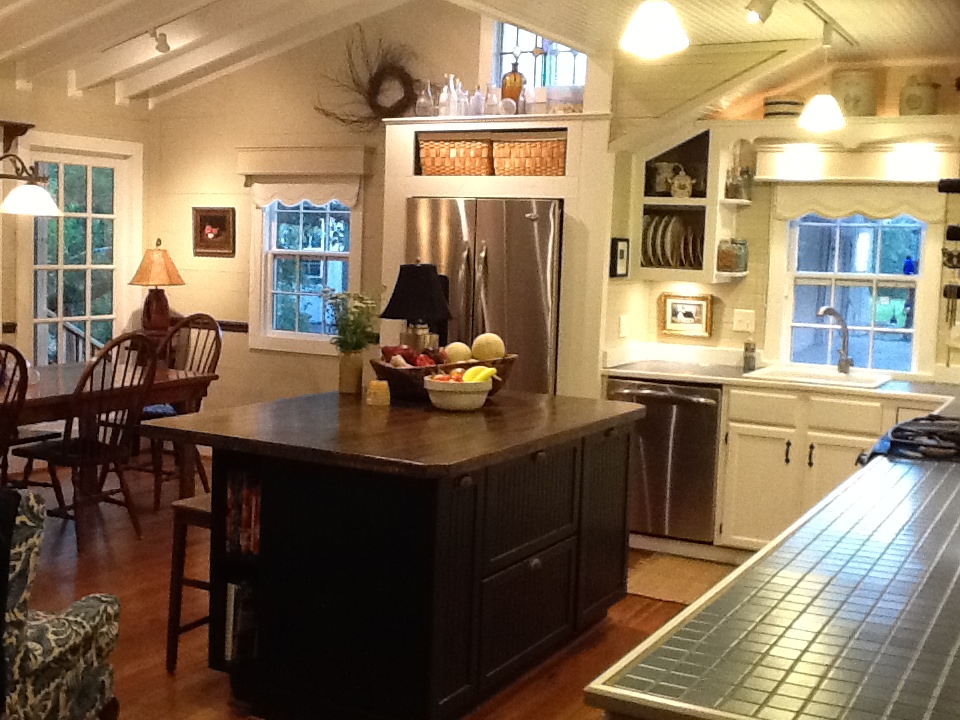
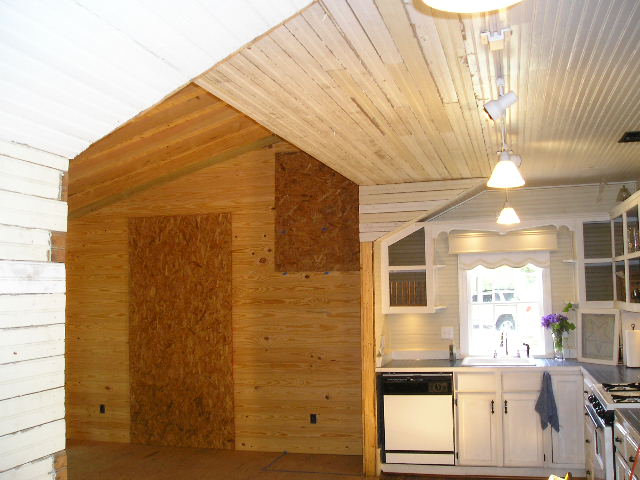
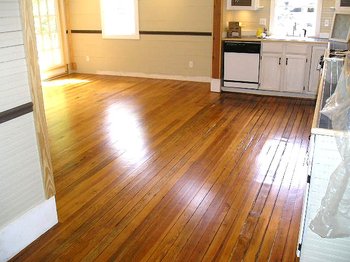
Now . . . Kitchen / Dining


Picture
Picture

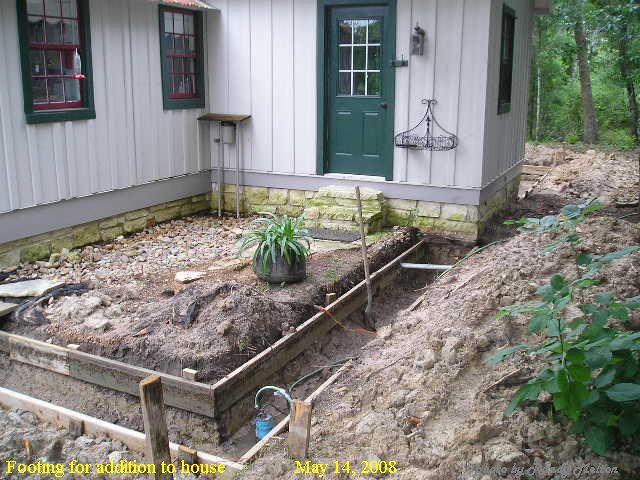
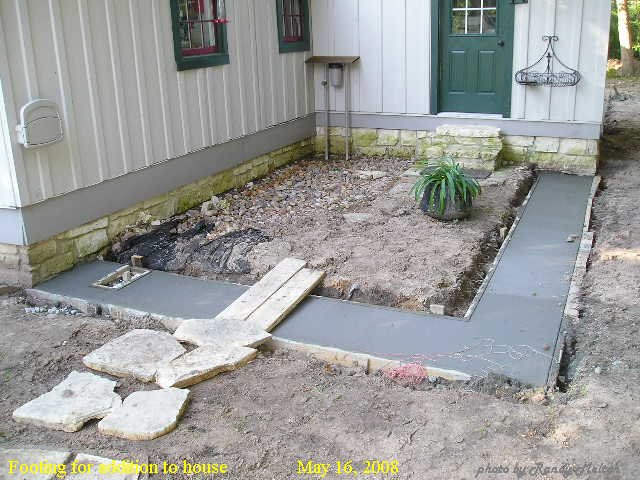
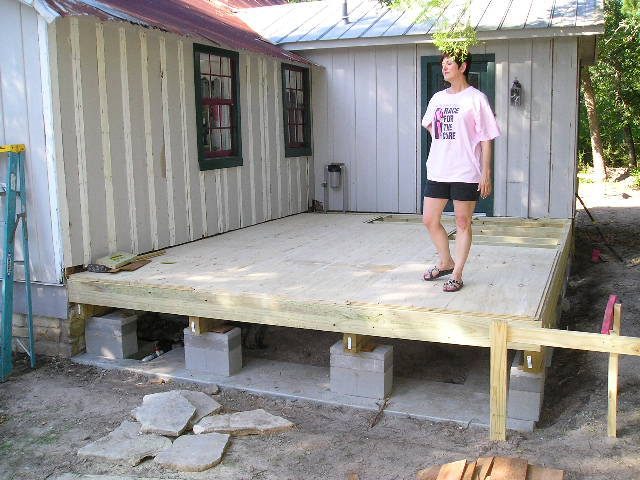
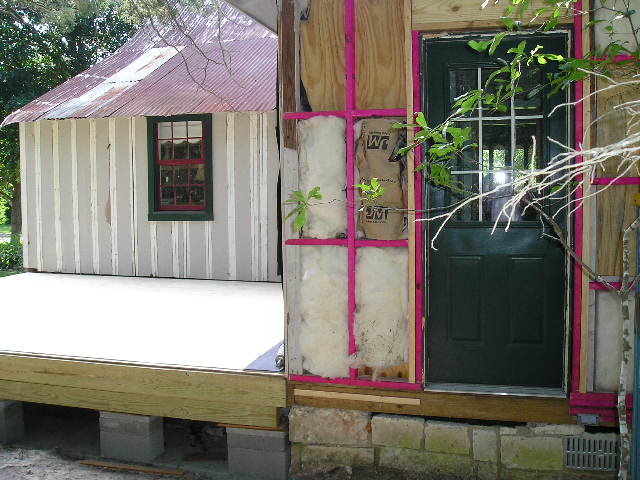
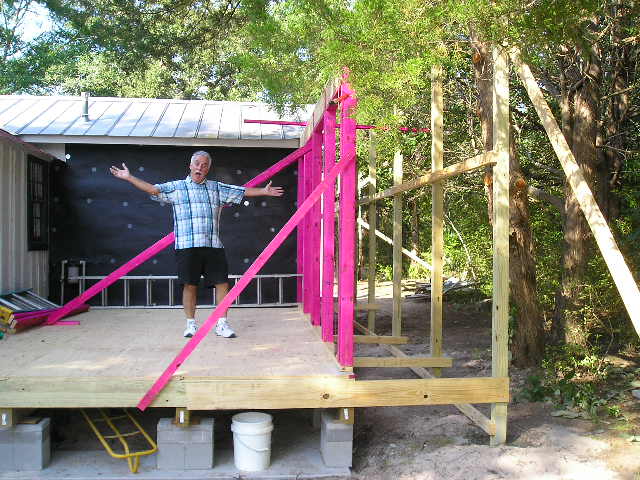
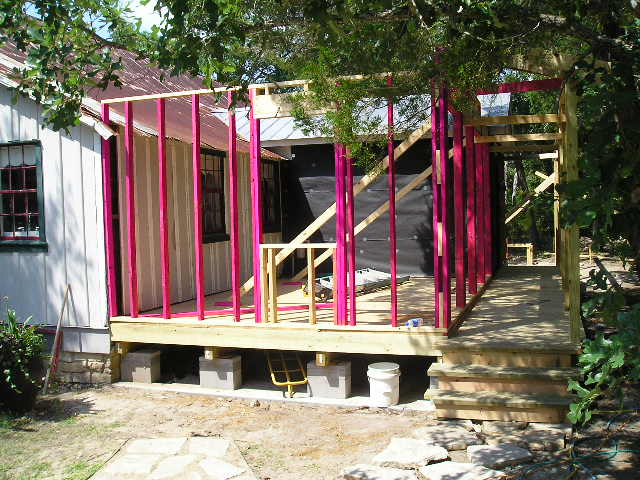
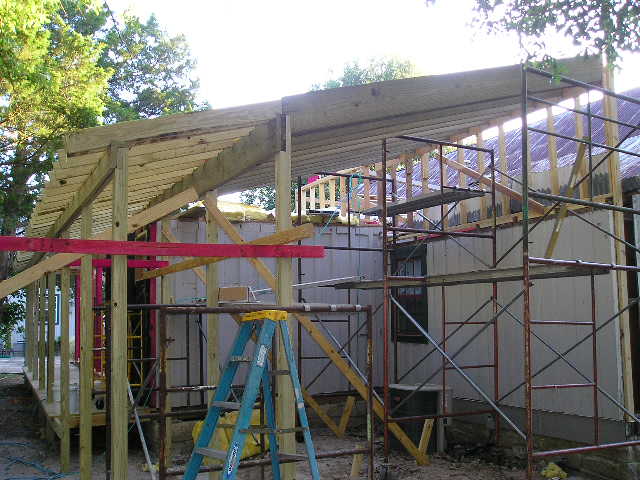
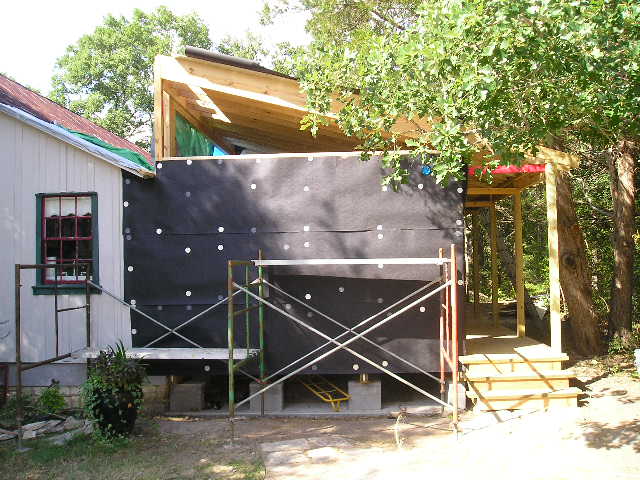
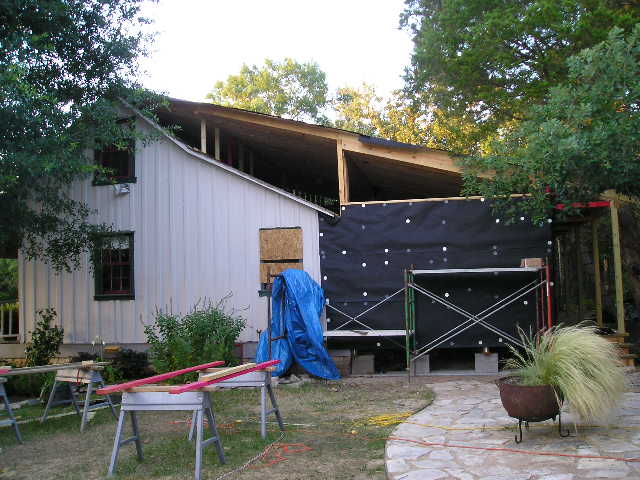
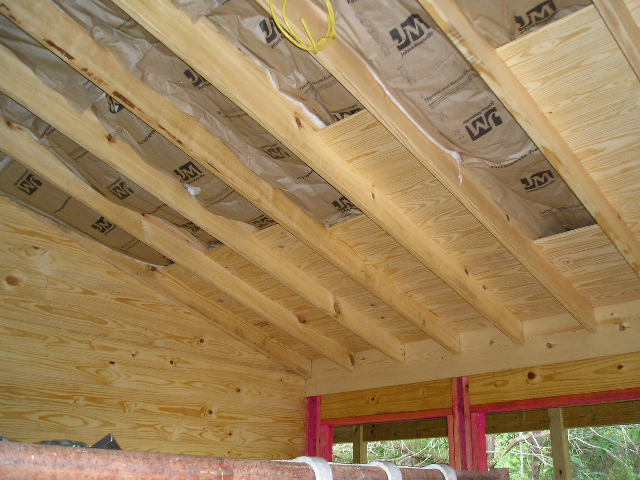
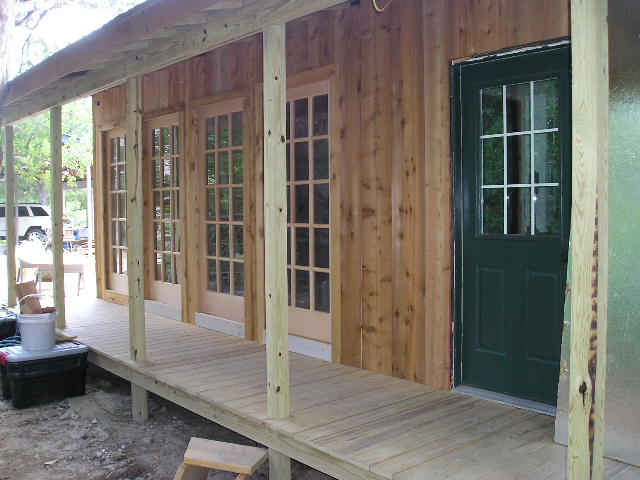
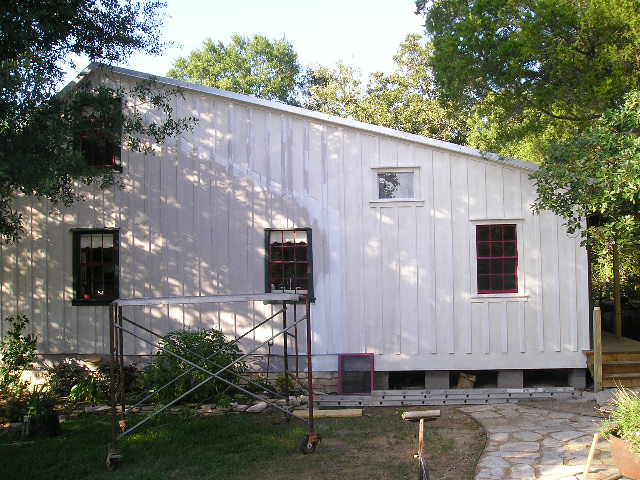
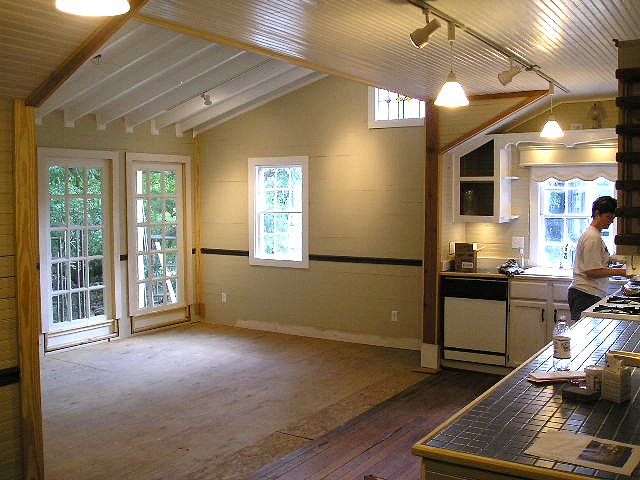
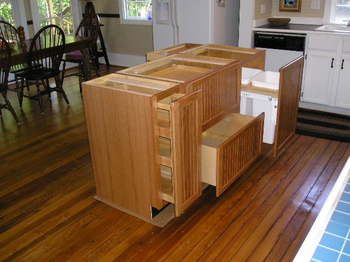
Kitchen / Dining Room Construction Begins
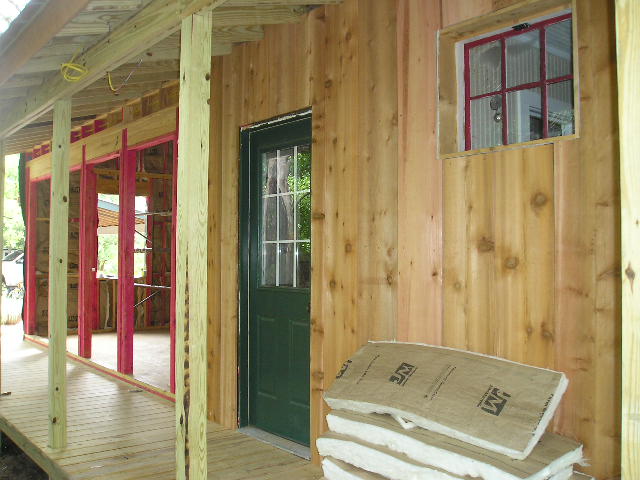
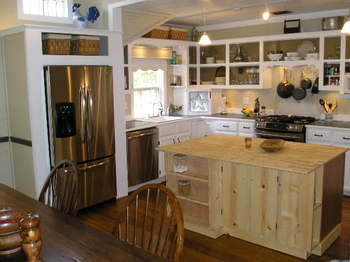
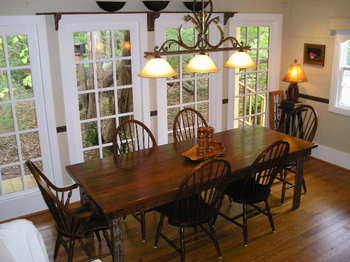
May 12, 2008 the construction begins: Footing is dug in the ground. When you have an old home, it needs "footing". This is to support the load bearing walls, so the structure will not sink into the ground. (click on any picture to enlarge it)
May 16th, Concrete has been poured: The concrete is poured into the forms, with half inch rods inside. The footing is two feet wide by eighteen inches deep. It is 12 feet by 16 feet. (scroll down this page to see progress of construction)
May 21st: The sub-flooring is put in place: The blocks are placed on the footing to support the room that will be built. Betty is so happy that the construction has finally started. Take note the old back door (behind Betty) is still in place.
Real changes are starting: Here you see the back door has been moved from the side of the back porch to the back of the back porch. This will be our new entry into the back of the house. The outside wood on the back porch had to be removed to install the door and a new window (window not shown in picture).
May 23rd: The back porch roof post: Here Randy is showing the outside wall (the pink studs) are in place. Also the eight 4" X 4" porch roof support post have been set in concrete. A four foot wide porch walkway will be built onto the back of the house so we can get to the back door.
28th. The back porch The side wall is put in place with a cut out for a window. Also steps to get to the new back porch walkway have been put in place.
June 3rd: Other end of house This is the other end of the house where a room will be added later. We decide to put a roof over it now. Roof rafters are on, future back porch rafters are on and two thirds of the "pony wall" is up (a pony wall supports the new roof rafters).
June 6th: Taking shape The roof rafters are now all across the bottom half of the house. The new room outside wall has tar-paper on it to keep any rain out. The tarps are also to keep the house dry for the weekend. The roof rafters will also be the new room dining room vaulted ceiling.
June 10th: The roof structure As you can see in this picture the whole roof support structure is in place. In a couple of days the v-crimp tin roof will be put on the structure and the roof will be finished. Then the opening on the side of the house will be closed in.
June 13th: Covering the outside wall The outside wall is starting to go on. Take note of the arrow pointing to where a stain glass window will go. Betty found it in Castroville, Texas and decided the dining room needed more light. There will also be a regular window lower on the wall.
June 18th Siding is on All the siding is on the house, now it is really protected from the rain, (if we ever get rain again). Next "batons" will go on to cover spaces between the boards, thus the term "board and baton" siding. The other end of the house is getting the board and baton put on at this time.
June 24th, Getting closer to the inside You can see here that the laundry room outside siding has been put on. The insulation is going in the walls and ceiling of the dining room. The four openings on the back dining room wall will have french doors, (which will be stationary windows) for the view and more light. We really like the back porch walk way; it will give us dry access to the back door.
June 26th Now construction goes inside. The dining room vaulted ceiling gets insulation, electrical, and the wood ceiling is going in. Each board in the ceiling has to be measured, cut, and nailed in place (360 pieces are cut and put into place to create the ceiling). Half of the 2" X 12" ceiling joists is insulated and half is exposed to match the old house living room ceiling joists.
July 3rd Getting down to the inside This pictures shows that the air-conditioner vents have been put in place. Also the wall that will be removed to expose the kitchen on the other side, will soon be taken out.
July 11th The wall of windows The four French doors have been put in place. They are no longer used as doors; they are now stationary windows. Betty wanted to let plenty of light in and have a view of the woods behind our house.
July 12th, Two rooms NOW one "big room" You can see here the kitchen wall has been taken down. After nine weeks of construction it is finally starting to look like an; "eat-in-kitchen". A regular window and a stained glass window has to be put in the side wall yet. Then both rooms will be painted, long-leaf-pine flooring will be put down in the dining area and a kitchen island has to be built in. There is still much to do.
July 18th, One step closer The battens have been put on, the regular window and stain-glass window has been put in. The primer coat of paint is on so the next step is to paint the add-on-construction.
July 22nd: All windows in place We took one of the kitchen windows from the back of the house and had it put in the side of the new room. The stain glass window (of a “fleur-de-lis” flower) has also been put in place. The ceiling and walls have been painted and track lighting is wired and operating. The floors get put in next then the baseboards go in.
July 23rd: Storage closet is built This laundry room closet was built with storage on top and a place for our cats to come and go from on the bottom . Betty is happy this is finally built; now all it needs is to be painted.
July 26th: The floor is in The floors in the new dining room and the old kitchen have been sanded, stained and sealed. Next the base-boards are put in. The room is almost finished.
July 31st: Back walkway is finished The back wall and french doors have been painted. The motion detectors for the lights have been put in place. The lattes has been put in place to keep large critters from getting under the house, after all this is the country.
July 31st: Construction is finished The wall has been painted, the outside lights are put in place. The stone skirting has been finished.
August 3rd: Let the decorating begin The refrigerator has been put into place, the dining room table is moved in. There is more decorating to do but this is a start.
August 24th: Island components All four components have a different purpose. The component on the far right holds the two fifty quart trash cans. The center component will hold pots and pans. The left component is a pull-out-pantry to hold can-goods and bottles. The forth component is on the other side of the island.
September 7th: changing of the Guard This shows the refrigerator, dishwasher, and stove have been changed. Now all appliances are in stainless steel. Notice the refrigerator has been built in. And the island has shelves and storage space, a three quarter inch deck has been put in place until the custom top is finished and put on.
October 1st: Island top put in place The counter top has been put on the island. This counter top was made off site from 100 year old long-leaf-pine that Randy and Betty saved from the early days of the old house. Construction is just about finished, all that is needed is a light over the dinning room table and a ceiling fan hung.
October 16th: final touches The construction is finished and the final touches are going in place. The chandelier has finally been hung over the table. Now almost everything has been done, only the very small details are left. We now have our eat-in-kitchen.

Dinner is Served

Picture
          Browse All Pages
Home
  • Over the Years
  • Easter
  • Family History

Flowers
  • More Flowers II
  • More Flowers III
  • More Flowers IV
Found The House
  • Work Begins
  • Keep Working
  • Sweet Home
  • Dining Room
  • Master Bathroom​
Contact Us
  • Our Links
Picture
Dining Room
go to next page
Picture
Powered by Create your own unique website with customizable templates.